The story of my 56 bug restoration

welcome

Welcome to OvalHaul.com

Hello and welcome to OvalHaul.com – this site is dedicated to the restoration of my 56 VW bug. I’ve been documenting the restoration from the beginning with a time lapse video of each step and figured I’d create a write up of my process. My goal is to help anybody else who might be considering tackling a restoration of their own – I explain the steps I took, provide links to resources I’ve found helpful, and note any issues that you might run into along the way and how to prevent or fix them.

Disclaimer: I only do this as a hobby – I don’t have any auto body or mechanical training and don’t have the best tools. But I do love Volkswagens and if I can help keep another classic VW on the road, then I’m happy. I’ve completed one other body-off restoration of my 67 bug a few years ago and learned a lot along the way. If you have any questions, I’ll do my best to answer or at least point you in the right direction to articles or videos that I’ve found useful going through the restoration myself. Enjoy!

step by step - 56 restoration

To the ground and back up again.

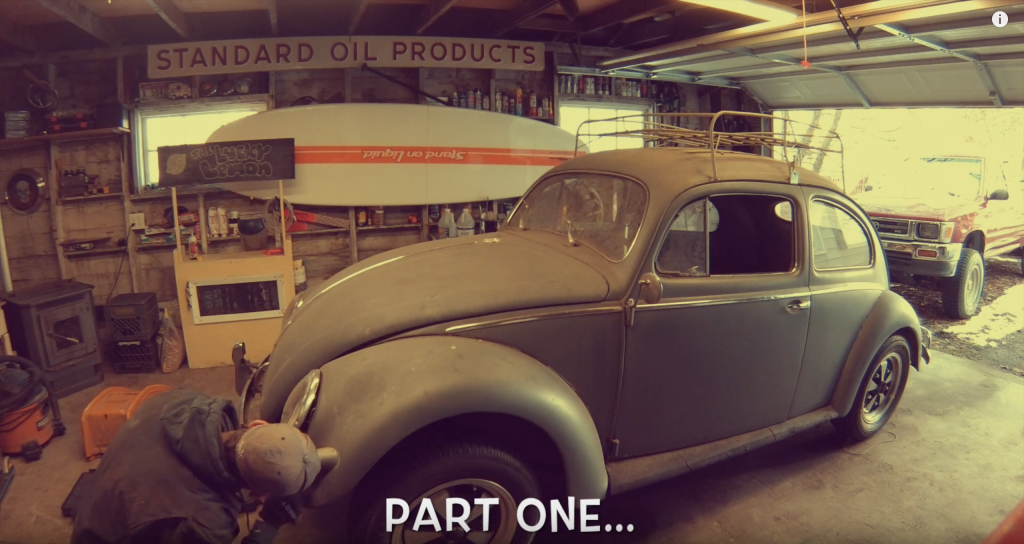
Getting started on my 56 vw bug restoration. Today I’m going to be removing the hood, decklid, fenders and bumpers.
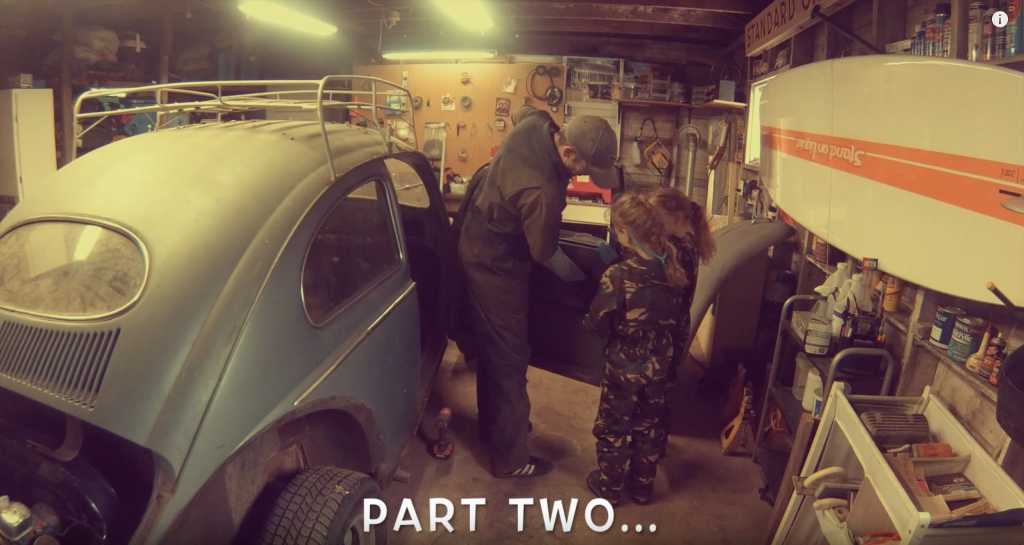
Removing the windows in the bug today. Also doing some miscellaneous work with my little helpers.
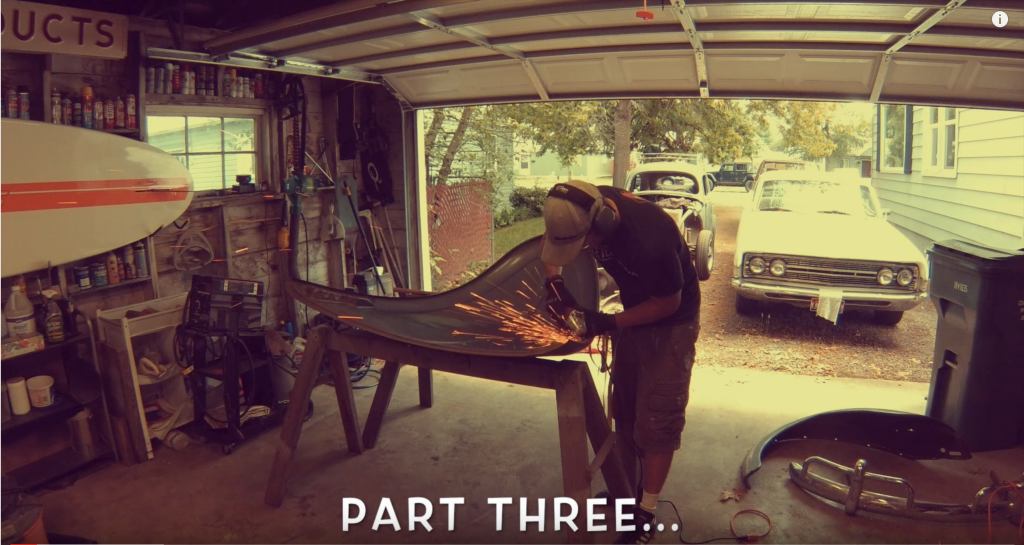
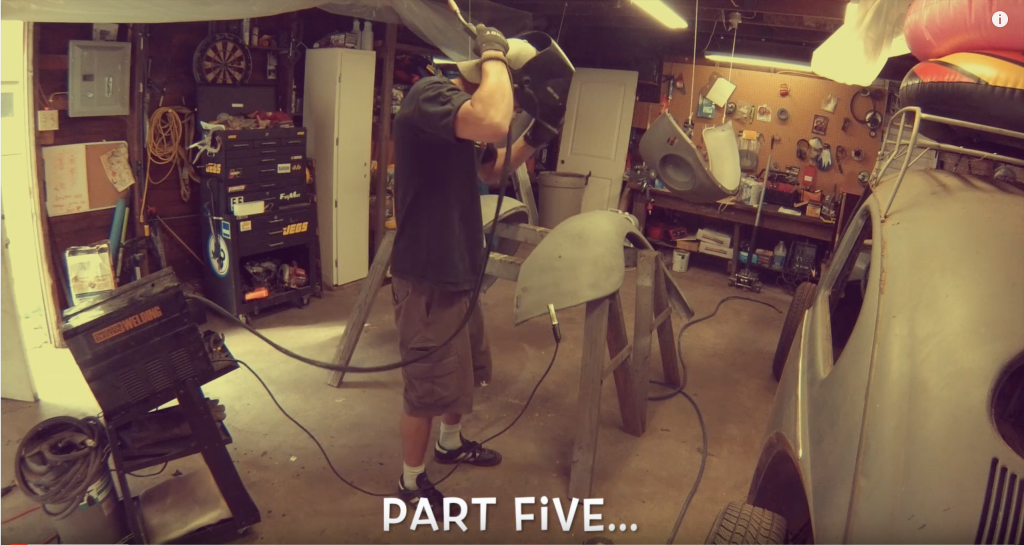
Today I’m doing some rough body work – welding cracked fenders and using a hammer and dolly to remove dents.
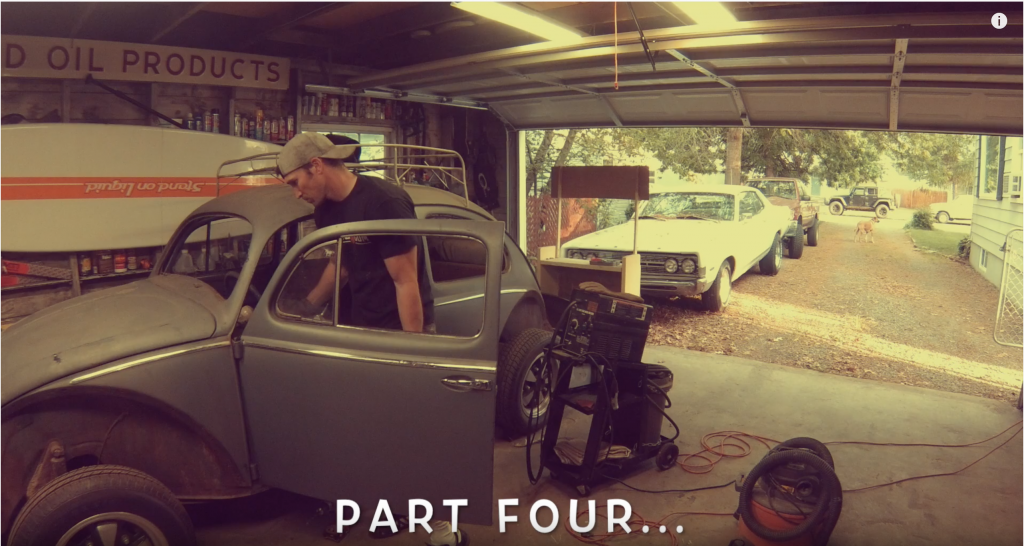
Today I’m removing the doors and stripping them down to prepare for body work and paint.
Today I’m applying some fiberglass filler over welded areas on the fenders, prepping for primer.
The fenders have been media blasted, so today I’m cleaning them and sealing with a coat of epoxy primer.
Today the girls are helping me strip the interior of the bug prepping for body work.
Before the weather gets too cold, today I’m starting the first round of body filler on the fenders.
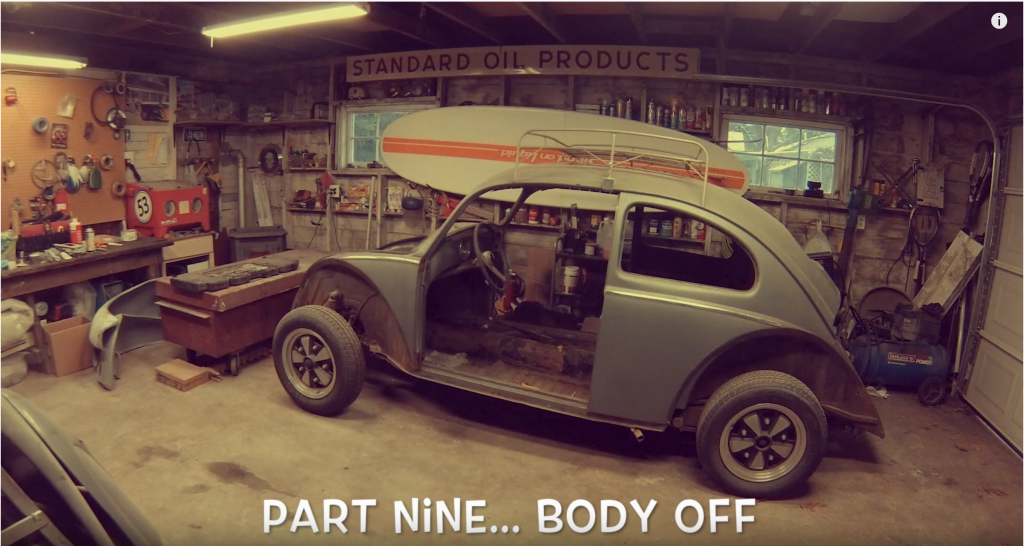
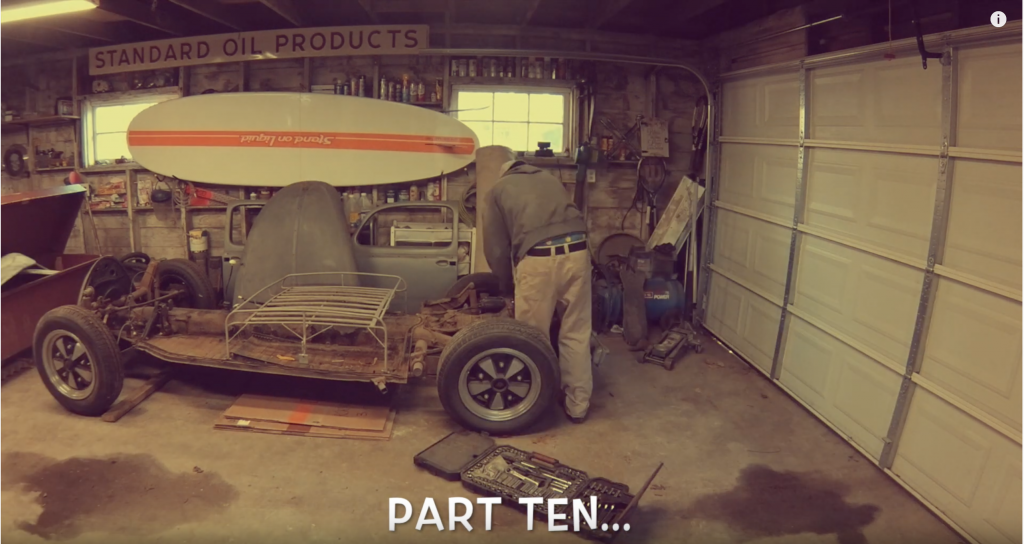
Today I’m taking the body off the bug, so I can make room to work on the chassis over the
Today I’m dealing with 60+ years of dirt, rust, and grime to remove the wheels and brake drums
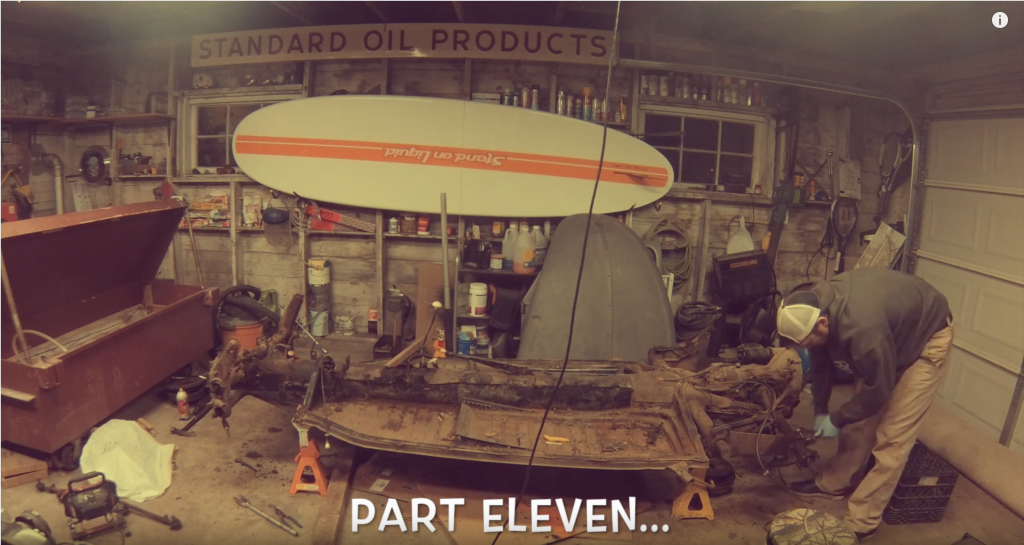
Today I’m removing the transaxle and front end, cleaning the chassis to prepare for pan replacement.
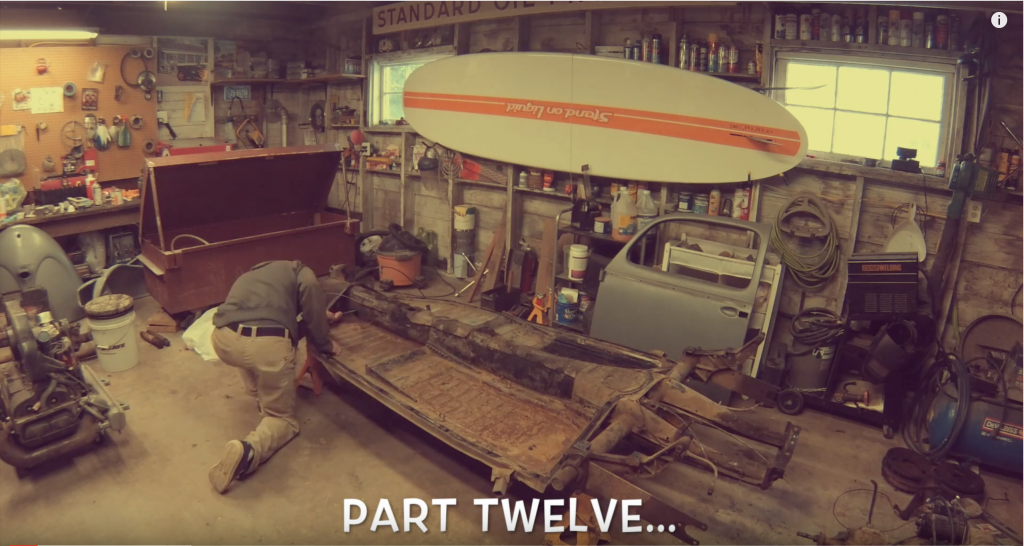
Getting exciting now! Today I’m cutting out the old floor pans – taking measurements along the way
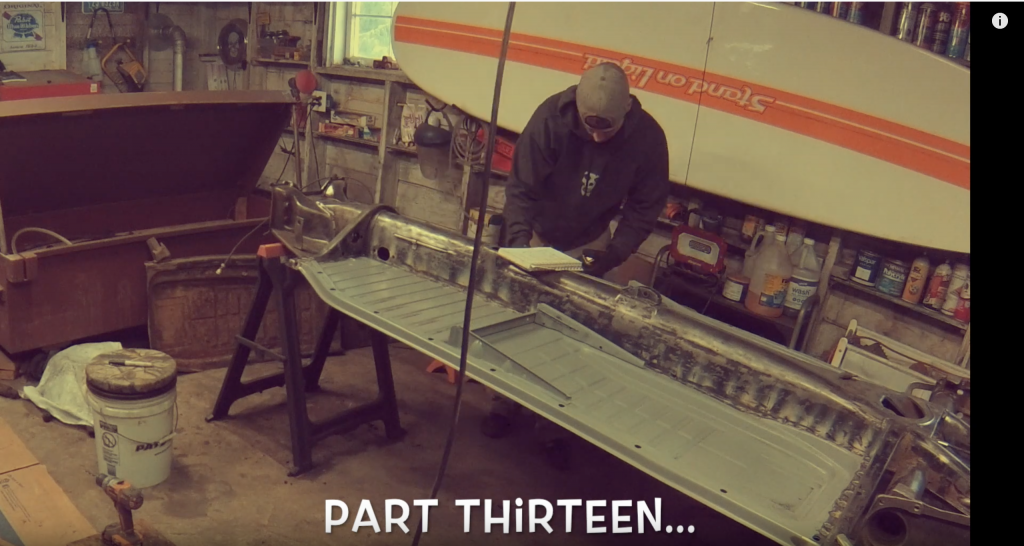
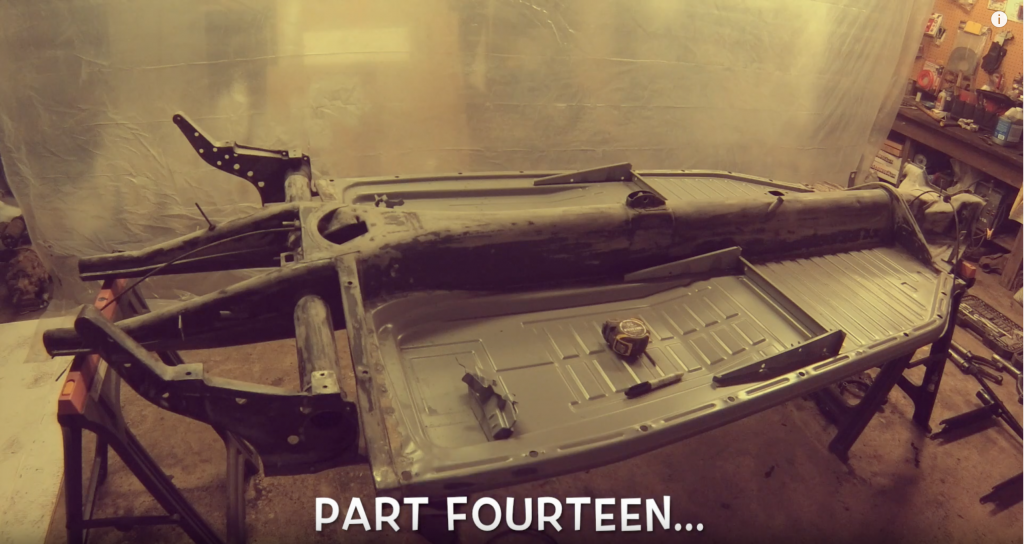
Today I’m measuring and welding in the new quality floor pans from Wolfsburg West.
Over the weekend, I’m getting a couple coats of epoxy primer and chassis paint on the chassis.
Finishing the chassis paint and installing the new narrowed front beam.
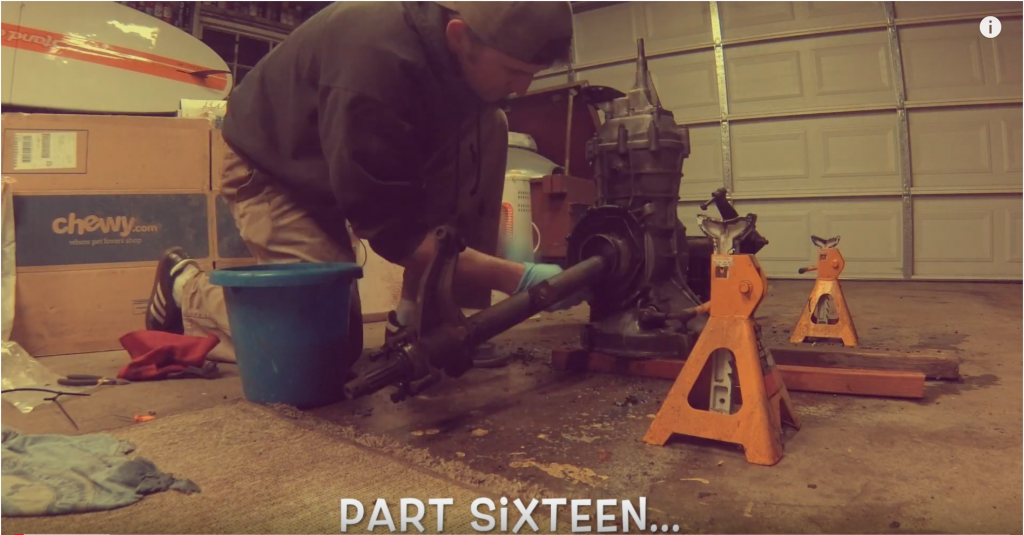
Transaxle work – new bearings and seals. Cleaning and installation of trans and pedal assembly.
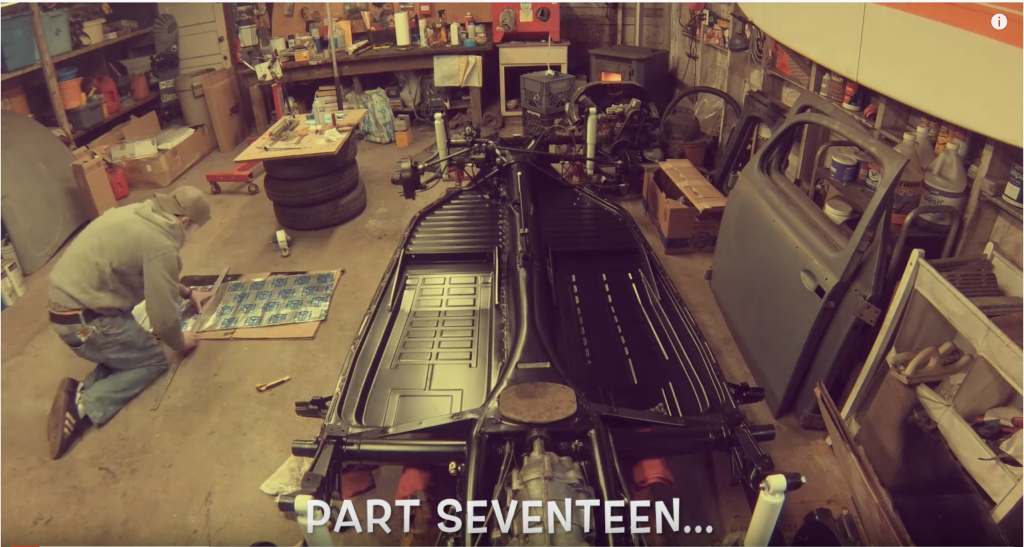
Installing sound proofing on pans and running new brake lines all around.
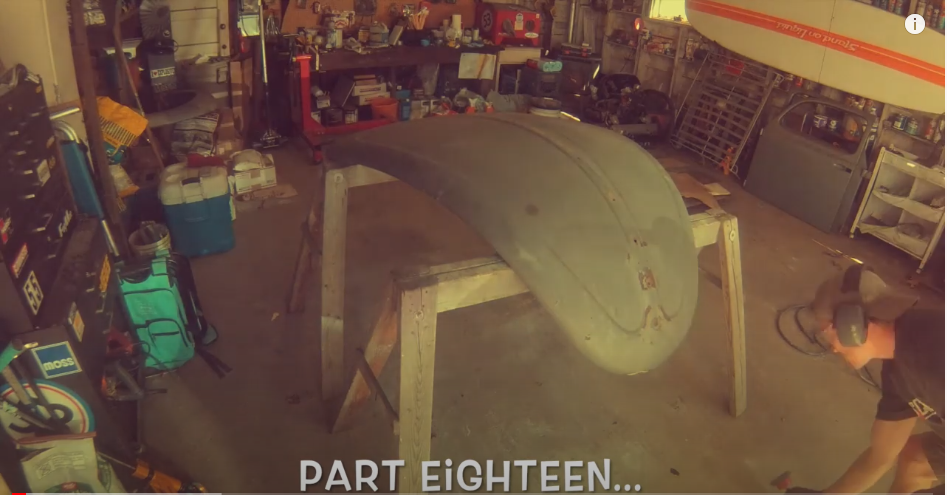
Doing some body work to prep for primer and blocking, then for paint.
Doing more body work to prep for primer and blocking, then for paint.

Another classic VW on the road…

Restoring my 56 vw bug with a body off restoration to keep it on the road for another 60+ years.