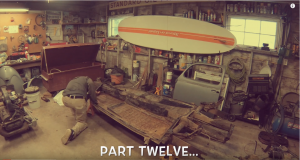
Removing the windows:
Tools Needed:
You can do this a few different ways, depending if you’re planning on keeping the old window rubber, etc. It’s a lot easier to cut the old rubber and replace, but it is possible to remove them and save the seal if they’re in good shape. See the resources page – I’ve posted a link to a video explaining the process. In my case, I am going to replace all the rubber/seals on the car, so here’s all I needed:
- Utility blade – see resource page. I like the extendable blades for this type of thing, but it’s possible using a typical utility knife
- Helper – it’s nice to have a helper with this step, but not necessary. I had my daughters to help
And here we go…
In the beginning of this step, I was hoping to loosen all of the door screws and remove them but I ran into trouble. These screws are notorious for being hard to remove – and on top of it, the previous owner had painted over the screws so they were extra stuck. I’ll go into more detail in a later video when I remove the doors, but don’t try to remove these screws without the correct size screwdriver head #4. Not a normal size, but using the wrong size, you’re almost sure to strip them out. Even with the right size I ended up stripping a couple – but we’ll get to that later. For now, we’ll focus on removing the windows.
Make sure you (or your helper) aren’t putting TOO much pressure on the window – they’re not super strong and they could crack if you’re pushing before the seal is completely cut or freed from the window frame.
Miscellaneous (body bolts and fender work):
Tools Needed:
In this video I jumped around a little because the girls wanted to help with things they could help with. So we loosened some body bolts and I finished the day doing some rough body work on the fenders.
- Socket set – almost every part of this restoration takes a decent set of sockets and open end wrenches. This is one tool I don’t skimp on – get a good set. Cheap ones will just break on you and we don’t want to be frustrated – this should be fun.
- Hammer/dolly – with the body work, the idea in the beginning is to get the parts as dent free as possible so we’re not trying to slap inches of body filler on them just to make them pretty. That doesn’t last long. I would recommend investing in a decent hammer/dolly set. You don’t need anything fancy – unless you have extra money to blow. You can find a cheap set at Harbor Freight, or spend more on a higher quality set. (see resources page)
- Welder – I’d also invest in a decent welder or borrow one from a friend. I have a simple flux core wire feed welder that I use for all the sheet metal work – it’s not ideal, but gets the job done. It would be nice to have something better, but they get expensive quick. (see resources page).
Here we go again:
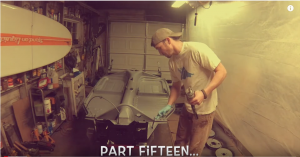
So we started loosening the body to pan bolts from underneath the car. I had sprayed these bolts earlier with PB Blaster, and they all came out pretty easily. Some take a little more work than others, but use lots of PB and take them slow.
There are a few bolts that aren’t that easy – the main bolts that attach from the front firewall to the frame are bigger than the normal body to frame bolts that run along the outside along the edge of the pan into the heater channels. These bolts take a little extra elbow grease so the girls weren’t able to help with them, but as long as they’ve been sprayed with some penetrating lube, they come out (and I’ve never had one break). There are also a couple bigger bolts under the back seat area that need to be removed from the inside of the car. These bolts have broken every time I’ve tried to remove them. And sure enough, I broke them this time too. I’ll cover how to fix that in a later video.
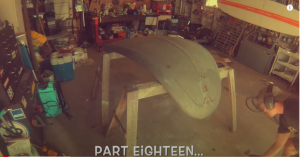
Finally, I finished the day doing some rough body work on the fenders, hood, and deck lid. Using a hammer and dolly, I began roughly banging out the dents – there were some cracks in the fenders due to age and bending in directions they weren’t intended to bend – so as I worked through the dents, I would weld the cracks closed to make them strong as I brought the parts back into semi-straight shape. This is ongoing – much more body work to go in future videos where I’ll get into more detail.


